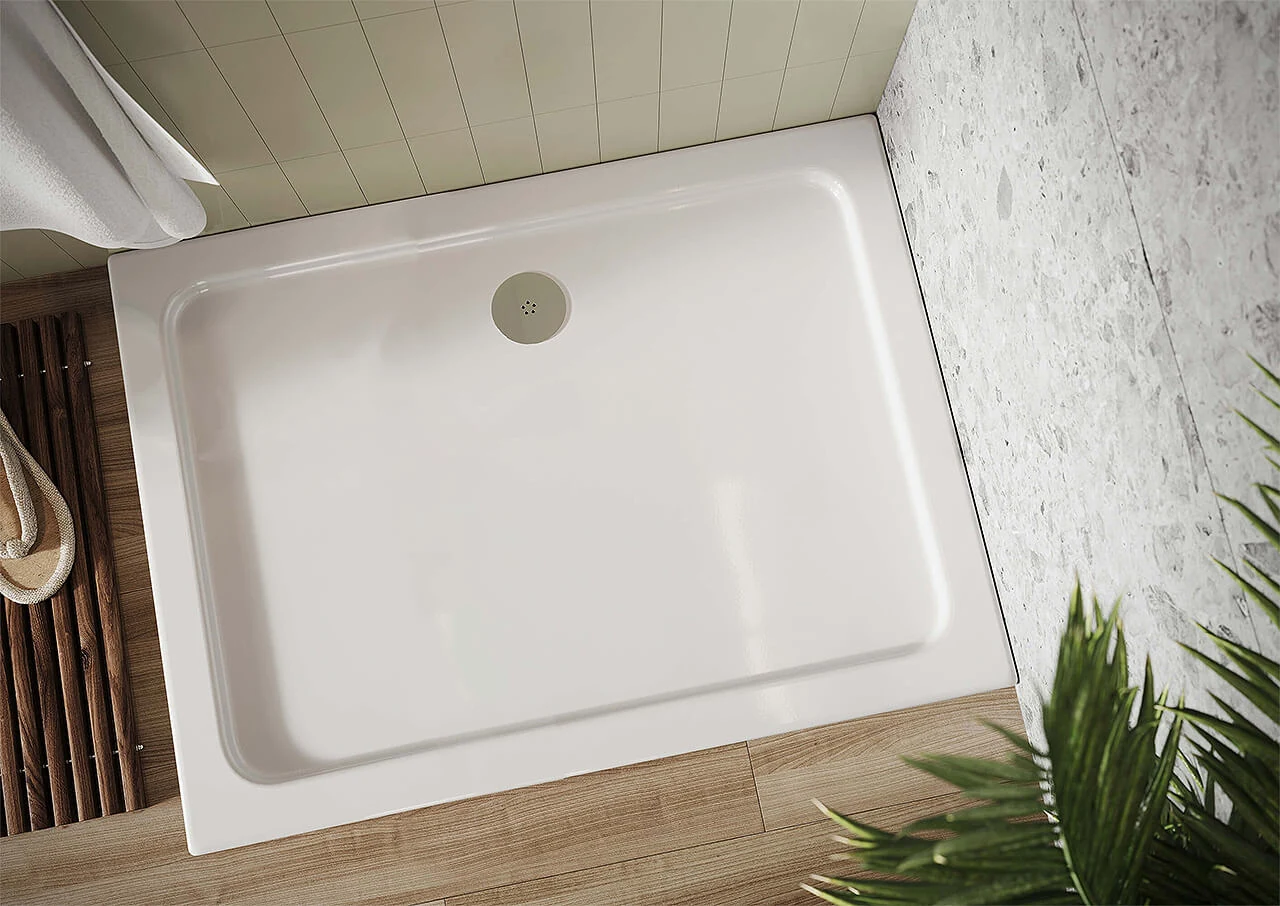
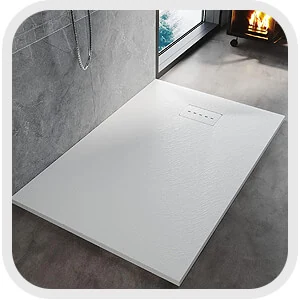
A shower tray is the foundation of a shower enclosure or wetroom. This shower base is meant to be watertight and drain away water without leaking out of the enclosure or the bathroom floor. The tray is installed for various reasons, both aesthetic and functional. Not only does it offer a watertight platform for showering, but it also has a firmer foot grip that prevents slipping. Easier to upkeep than a tiled floor, the anti-slip nature of many trays makes them an essential addition to any showering space.
For the shower enclosure or wetroom to remain waterproof, the base must be sealed to be completely leak-proof. Such a waterproof tray prevents any seepage of water below or around the tray, and is crucial for maintaining the bathroom's structural integrity, thereby preventing any costly repairs. Water from a leaky tray can spill out to the bathroom floor and pose a safety hazard by pooling in unexpected areas. It can also encourage the growth of mould and bacteria. Water damage can also show up as water spots, stains, and discolouration, diminishing the aesthetic appeal of the tray or the bathroom floor.
The Sealing Tools
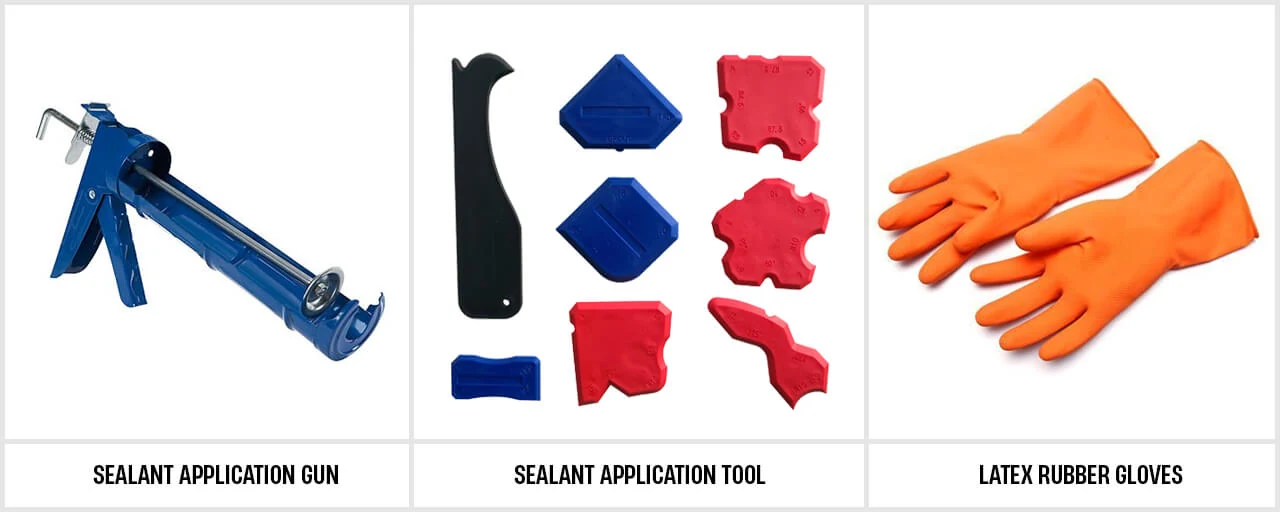
Before you start the sealing, you need to keep some tools ready; these are readily available and relatively inexpensive and will go a long way in creating a watertight seal and a neat finish.
You will need a sealant application gun, designed for a precise application, and a sealant application tool for applying or removing excess silicone sealant for that desirable clean finish.
Next, your toolbox must contain some Latex rubber gloves which can be used when handling the sealant and then discarded. You may need to keep some plastic or disposal bags ready for disposal of the excess sealant.
The Sealing Process
As discussed, sealing the base of your shower i.e. the tray is something you cannot afford to neglect if you want long-term endurance from the tray. It's the best way to avoid expensive repairs due to water damage. Let's understand each stage of the sealing/ resealing process:
- The First step is to dry the tray and the surrounding area completely. Make use of an exhaust fan or open the windows if necessary.
- Next, clean the surface thoroughly by removing any accumulated dirt, grime, or old sealant. In case of resealing use a Stanley knife to remove the old sealant, you can also use a sealant remover. Be careful when cutting off the old sealant as the knife may scrape the tray surface. This will prepare the perfect substrate for the application of the new sealant and give a good hold.
- For a precise application, you can also make use of masking tape above and below the space that is to be sealed. The sealant can be applied to the gap between the two tape lengths.
- The applicator nozzle must be of the right size to expel the right size of the sealant. When cutting the applicator nozzle of the sealant tube, cut an angle (mostly 45 degrees) that will enable much more precise application.
- Make use of a Caulking Gun for easy application, insert the sealant tube into the gun. With a steady grip, release the sealant evenly into the desired area. Don't apply too much pressure as this may cause too much sealant to be expelled from the tube and create a sealant mess.
- To make the sealant less sticky before you smoothen it, spray it with rubbing alcohol. Soap water works as well but is not as efficient as rubbing alcohol.
- Smoothen and spread evenly using a specialized tool to enable a neat finish. Alternatively, you can also press down the sealant with your finger into the cracks, covering them completely in an airtight seal. Then smoothen to remove any lumpy patches or gaps.
- It's a good idea to apply a second layer of sealant to the area you have already sealed.
- Remove the masking tape while the sealant is still wet. You can smoothen the borders of the sealant again after removing the tape, as the edges might get disturbed when the tape is removed, which can reduce the usefulness of the sealant. Also, clean any sealant that may have spilt where not needed to ensure a neat finish.
- Let the sealant dry completely, following the drying instructions specified for the particular sealant. Most modern sealants will cure at a rate of 2-3mm every 24 hours or longer. For precise curing times, follow the instructions on the sealant pack.
- Make sure you do not use the shower or wet the sealant before it is cured for it to be effective against water.
- Dried excess sealant can also be sanded down or scraped with a cheese wire or a sharp knife.
You can follow the above steps to completely seal any bathroom fixture that needs a watertight seal.

Maintainence and Aftercare
- Follow a regular cleaning routine to prevent the buildup of mould, mildew, and soap scum, to prevent the sealant from degrading, and to maintain the aesthetics and the seal.
- Do not use harsh cleaners or abrasive tools that have the potential to damage the sealant or render it ineffective. Regularly inspect the sealant for signs of wear, damage, or mould/mildew growth.
- If any issues are observed, reapply the sealant as needed to maintain a watertight seal. Be prompt in correcting any leakage issues or mould growth.
Know your Shower Tray Type and its Specific Sealing Needs:
In general, silicone sealant is the best kind of sealant that is compatible with several different shower tray materials. However, some types of materials do warrant a special or specific sealant. For the best course of action, read the manufacturer's instructions.
Natural Stone or Porous Materials: If your shower tray is porous such as natural stone, a silicone sealant may not be sufficient. A sealant with MS polymers or polyurethane-based may offer superior bonding and penetration for the right degree of sealing in such highly porous substrates.
High-Movement Areas: If the shower tray faces movement or flexibility, then a more elastic sealant such as MS polymers is likely to hold better and therefore is typically used to keep the seal watertight and prevent degradation.
Anti-Fungal Formulations: A special anti-fungal silicone sealant or a specialized sealant with anti-microbial properties is suggested for areas of high humidity and those prone to mould and mildew growth.
Chemical Resistant Formulations: In cases where the shower tray may be exposed to harsh chemicals, a chemical-resistant sealant may perform a better sealing job than the standard silicone sealant.
Types of shower trays and their best sealing methods:
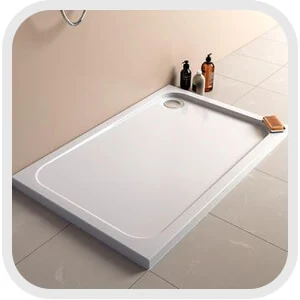
Acrylic Shower Trays:
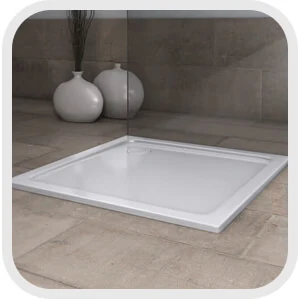
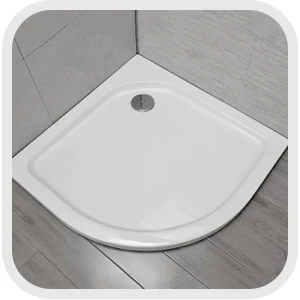
Acrylic shower trays are made of acrylic which is a kind of lightweight plastic. Usually, these require sealing at the edges and seams with a silicone sealant to keep water contained. We stock acrylic trays in rectangular shape, quadrant shape and square shape in various shapes and sizes.
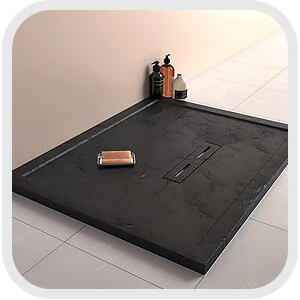
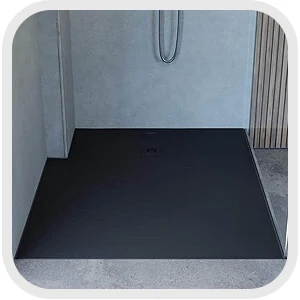
Stone Resin Shower Trays:
Stone resin shower trays are made using crushed stone mixed with resin. Typically such trays have a water-resistant gel coat surface. Sealing is usually done at the waste outlet and around the edges using a silicone sealant. We stock stone resin trays in quadrant shape, rectangular and square shape in various shapes and sizes.
Ceramic Shower Trays:
Fired Clay or Ceramic makes these shower trays strong and durable and as the material itself is waterproof, it doesn't need heavy sealing. A watertight seal at the waste outlet with a suitable gasket or sealant is usually sufficient.
Metal Shower Trays:
Made of metals such as steel or cast iron, they have higher sealing needs, particularly around the waste outlet and joints or seams. The sealant should be appropriate not just for leakage but also to prevent corrosion. We stock steel shower trays in various shapes and sizes.
Solid Surface Shower Trays:
These trays are constructed using natural minerals mixed with acrylic resins. Their sealing needs are very similar to stone resin trays, with filling needed at the waste outlet and edges with silicone or specialized sealants. We stock solid surface shower trays in square shape, rectanguar and quadrant shape.
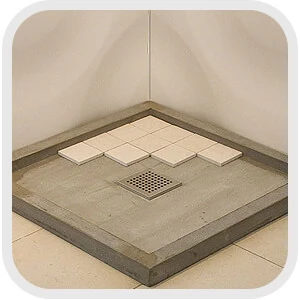
Tiled Shower Trays:
Tiled trays are tiled with ceramic or stone tiles and therefore have greater waterproofing and sealing needs, especially at the tile joints to prevent water ingress. Experts recommend waterproof membranes and sealants around the waste outlet.
Fibreglass Shower Trays:
Fibreglass trays are composed of layers of fibreglass reinforced with resin. Seal the edges and seams with silicone or fibreglass-reinforced waterproofing materials to maintain water integrity.
Composite Shower Trays:
The popular composite trays are made up of composites of acrylic, stone resin, or other materials. In the case of these trays, proper sealing may depend on the specific materials used in the composite. It's best to follow the manufacturer's recommendations for sealing.
Types of Sealants and Their Best Use Cases
Sealants are used for filling gaps to provide structural integrity as well as prevent leaks of liquid or air and also for cosmetic reasons. Sealants can be silicone sealants, adhesive sealants, waterproof sealants, shower sealants, bathroom sealants, and more. It is best to use a sealant made for each particular situation so that the seals adhere and last long. Let's understand the different sealants and their suitability for shower trays in different conditions.
Silicone Sealant
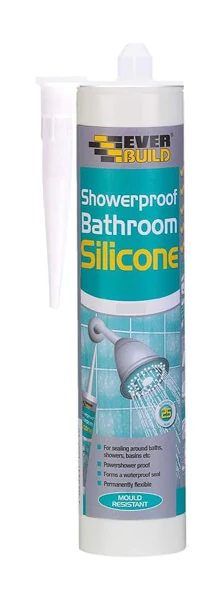
It is the sealant of choice for wet areas such as bathrooms and kitchens. Silicone sealant offers superior water resistance and flexibility needed for shower tray sealing. Silicone sealant will also resist mould and mildew growth, making it the best option for the bathroom.
Acrylic Latex Caulk
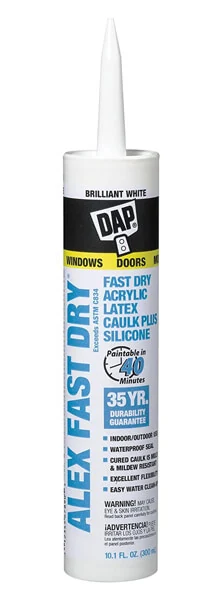
This sealant comes with the advantage of easy application and cleaning up too. However, it's not as durable or flexible as silicone, making it less ideal for shower trays.
Polyurethane Sealant
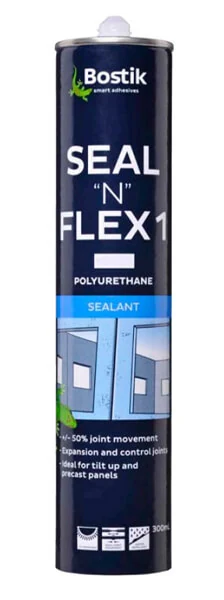
Polyurethane sealants offer strong bonding and flexibility. These are a good option for high-moisture areas but need to be applied in a skilled manner. These are also typically more expensive than silicone.
Conclusion
Shower Tray Protection includes the proper sealing of gaps and joints, drying of the sealant and cleaning of the tray. It is always sensible to carry out maintenance regularly, to keep expensive repairs at bay. Proper maintenance involves inspection of the surface at regular intervals for signs of damage, stains and mildew growth. Besides mild cleaning products, there are water-based and solvent-based finishing products that form a barrier for long-lasting protection.
As soon as you find a problem, attend to it and fix them at the earliest. Get the most out of your sealant tube by following the above recommendations.
Becoming familiar with the different types of sealants and understanding their properties will help you perform the sealing accurately and get the most out of your shower trays in performance and safety. A little understanding of the materials and necessary steps in maintenance will ensure that you get the maximum value from your hard-working bathroom fixtures. At our online store, you will find all kinds of shower trays from top brands in various materials, sizes, and shapes. Choose a product that will help you build a shower area that fits your lifestyle and budget.