
Wall-hung vanities are increasingly becoming very popular in UK as sleek and space-saving solutions for smaller bathrooms. Unlike floor-standing units, a wall-hung vanity is mounted directly to the wall, which creates a floating effect that makes smaller bathrooms feel big.
However, fitting a wall-hung vanity requires a lot of expertise and planning to ensure it's well installed and secure. Whether you are replacing an old vanity or installing a new one, this guide will walk you through the entire process. Let's get started!
Tools & Materials You'll Need
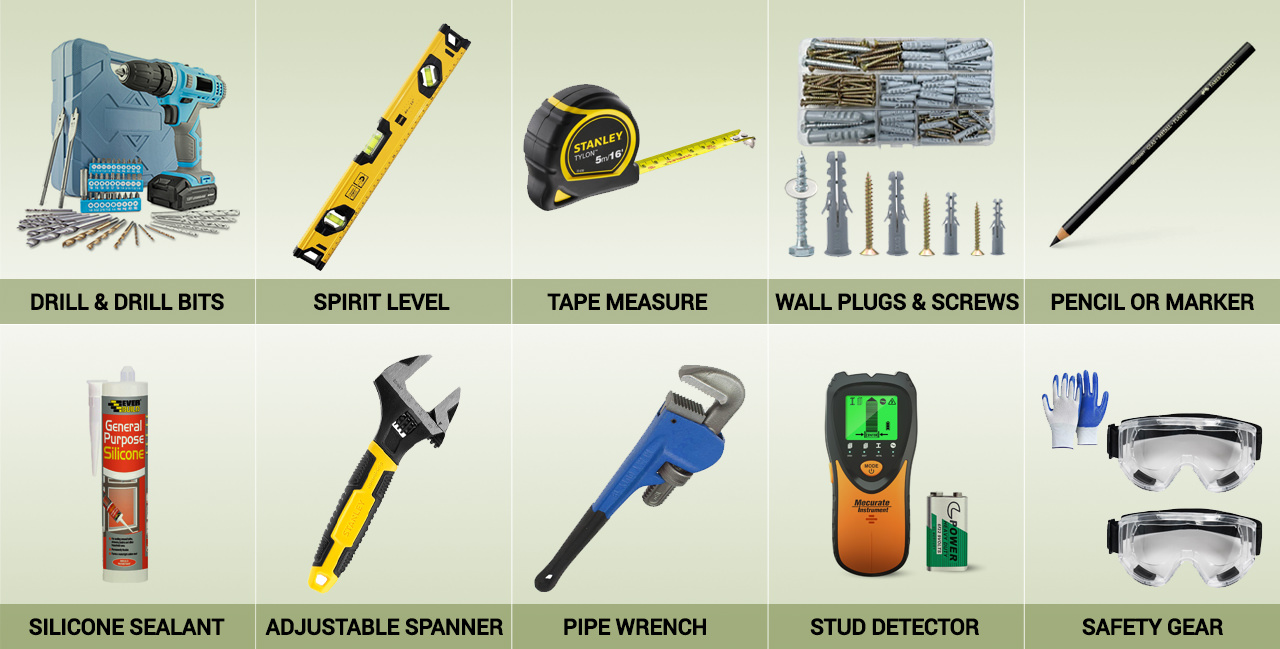
Before getting started ensure you gather all necessary tools for the job so you not only save time but also prevent interruptions during installation. Here are some of the tools you need:
- A Drill and appropriate drill bits: Have masonry bits for walls that are solid, wood bits for wooden walls and tile bits for tiled surfaces.
- Spirit level: You need a spirit level to ensure that your wall-hung vanity is levelled.
- Tape measure: Have a tape measure for positioning and measuring.
- Wall plugs and screws: Always have heavy-duty plugs for solid walls or specialist fixing for stud walls.
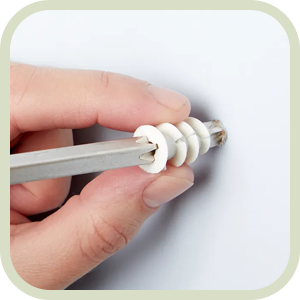
- Pencil or marker: This tool is for marking drill points.
- Silicone sealant: To help waterproof joints and edges.
- Adjustable spanner: This tool will be used to tighten plumbing connections. You can also use a wrench for this.
- Pipe wrench: For adjusting pipe fittings.
- Stud detector: For finding studs in stud walls.
- Safety gear: Have goggles, gloves and other PPE for protection when drilling.
Step 1: Preparation
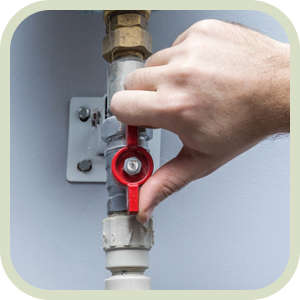
Turn-Off the Water Supply
Before starting, shut off the water supply to the bathroom. It's an important step as it prevents flooding while working on the plumbing connections.
Remove the Old Vanity - If Replacing
If you're replacing an old vanity you'll need to remove the old unit. Start by disconnecting the plumbing. Use a spanner to loosen the connections to the water supply and waste pipe. Once you have disconnected the plumbing remove the old vanity carefully.
Mark the Position of Your New Vanity
Now that the old vanity is out of the way, it's time to mark the position of your new wall-hung vanity. Hold the vanity or its mounting bracket against the wall in the desired position. Use a tape measure to ensure it's at the correct height and centred.
While marking the position, check for any obstructions such as pipes, electrical outlets or uneven walls. Also, double-check the position of the plumbing to make sure it aligns with the new vanity.
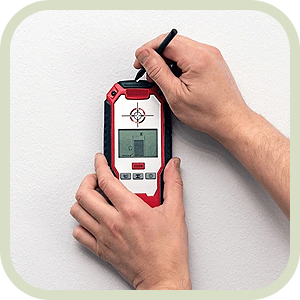
Check the Wall Type
Your wall type will determine the type of fixing to use. Solid walls will need heavy-duty wall plugs, while stud walls may need specialized anchors. If you are unsure use a stud detector to locate the studs on the wall.
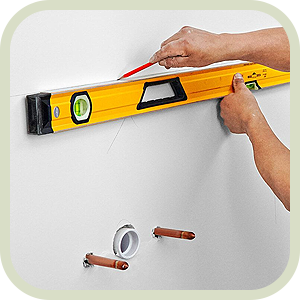
Step 2: Mark Fixing Points
Hold the Vanity Frame in Place
With the vanity or mounting bracket held against the wall, use a spirit level to ensure it is level.
This is a critical step as an uneven vanity will not only look unprofessional but also cause issues with plumbing. Ensure that you take time to get this right as even a slight mistake can be noticeable once the vanity is installed.
Mark the Drill Holes
After making sure that the vanity is levelled, use a marker to pin-point positions of the drill holes through the mounting. Double-check for measurement and accuracy.
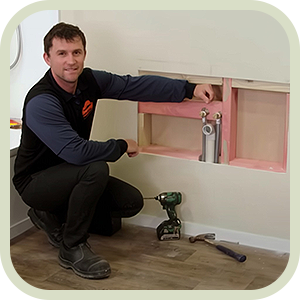
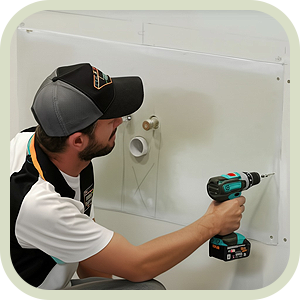
Step 3: Drill and Insert Wall Fixings
Drill Holes at the Marked Points
Using the right drill bit for your wall type, drill holes at the marked points. For solid walls use a masonry bit and for tiles use a tile bit to avoid cracking. Wear safety goggles to protect your eyes from dust and debris.
Insert Wall Anchors
For solid walls, insert heavy-duty wall plugs into the drilled holes. For stud walls, use specialist cavity wall anchors or screws into the plasterboard. Make sure the fixings are secure to the wall surface. This is critical to provide a strong anchor point for the vanity.
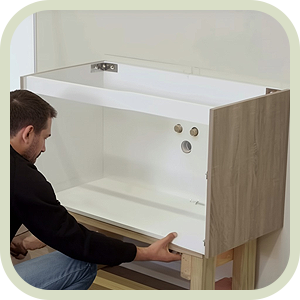
Step 4: Mount the Vanity Frame
Screw the Frame into Place
Align the vanity frame with the drill holes and screw it into place. Be sure to use a spirit level to make sure it is still levelled. This is very important as it ensures the vanity is hanging straight and is rightly secured. If your vanity has adjustable feet or brackets, use them to fine-tune the level.
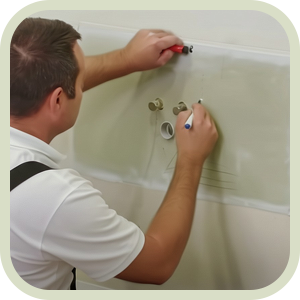
Step 5: Plumbing

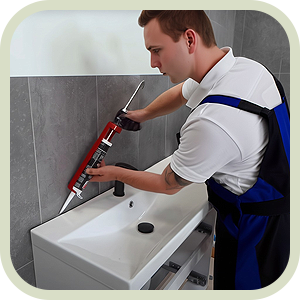
Connect the Waste Pipe and Faucet
Now that the frame or bracket is mounted, it's time to connect the plumbing. Connect the waste pipe to the water supply. You can choose to use flexible hoses to make the connection easier. Flexible hoses are handy for wall-hung vanities as they allow for movement during installation.

Apply Silicone Sealant
To prevent leaks, apply silicone sealant around all joints in the plumbing. This will create a watertight, future-proof seal. Be generous with the sealant but don't overdo it, as excess sealant is hard to clean up.
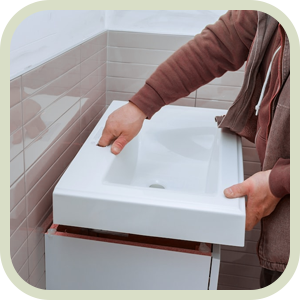
Step 6: Vanity Unit
Hang the Vanity onto the Frame
Lift the vanity unit and hang it onto the mounted brackets or frame. Make sure it's seated and level. Some vanities come with extra screws to fix the unit to the frame - if so, screw them in now. If your vanity has a concealed hanging system, follow the manufacturer's instructions to secure it.
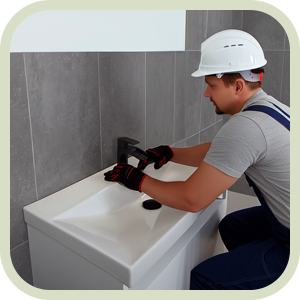
Check for Stability and Level
Once the vanity is in place, gently shake it to check for stability. Use a spirit level to check its still level. Make any adjustments as needed. A level vanity is important for looks and functionality.
Step 7: Seal and Finish
Apply Silicone Sealant
Run a bead of silicone sealant along the edges where the vanity meets the wall. This will stop water from getting behind the unit and causing damage. Smooth the sealant with your finger or a tool for a clean finish. Pay extra attention to the areas around the basin and tap, as these are prone to water splashes.
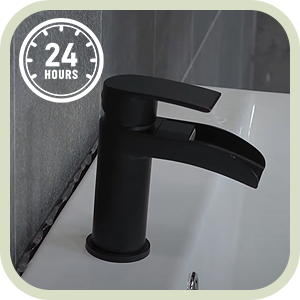
Allow Sealant to Cure
Follow the manufacturer's instructions for curing time. This is usually 24 hours, but check the product details to be sure. Don't use the vanity or expose it to water until the sealant has fully set.
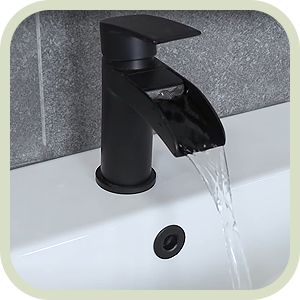
Turn On the Water Supply
Once everything is in place and the sealant has cured, turn the water supply back on. Check all connections for leaks and tighten any fittings if needed. Run the tap for a few minutes to make sure there's no issues with the plumbing.
How to Install a Wall Hung Vanity by Mitre 10 Easy As DIY

Top Tips for Wall-Mounted Vanity
- Use good fixings: All mounted vanities are heavy especially with a basin. Invest in heavy-duty fixings to keep the unit in place.
- Always read the manual: Some vanities have specific installation requirements. Always read the manual before installing.
- Call a professional if needed: If you are unsure about the installation, do not hesitate to call in a professional. Better safe than sorry.
Are you thinking of installing a Wall-Hung Vanity?
Looking for a stylish wall-mounted vanity? Browse our range of products today. We have various designs of wall-hung vanities that fit every bathroom design. Upgrade your bathroom with a sleek solution that combines functionality and design.
Fitting a wall-hung vanity can seem to be a lot of work, but with the right tools and a methodical approach to the installation you can do it yourself. Follow this guide and you will have a beautiful vanity that will dazzle your bathroom. Happy DIY-ing!